While we all know that Christmas should not be about the presents, I have to admit that giving lovely gifts that people will love is my absolute favourite thing about the holiday. So it’s absolutely no surprise that preparing those gifts is a close second on the scale of Christmas excitement. In fact, I love it so much that I end up wrapping my boyfriend’s presents too; there’s no excuse for a shady wrapping job. No, no, no.
So if you struggle with wrapping presents (or simply want to see how I wrap mine), here’s a quick little guide!


What you’ll need:
• Wrapping Paper
• Scissors
• Double-sided sellotape
• Ribbon
• Bows, tags, and/or other decorative items
Step 1: Measuring
Measuring out your wrapping paper requirements accurately is an extremely important step to achieving a nicely wrapped gift. Too much paper will result in bumps or several trimming attempts that may leave you with uneven or jagged edges; too little paper will obviously result in a gap that will either require an extension (massive no-no), or to restart completely with fresh paper.
So the easiest way to measure out the correct amount of paper needed is to use a piece or ribbon, string, or a measuring tape (leaving an extra inch for overlapping). 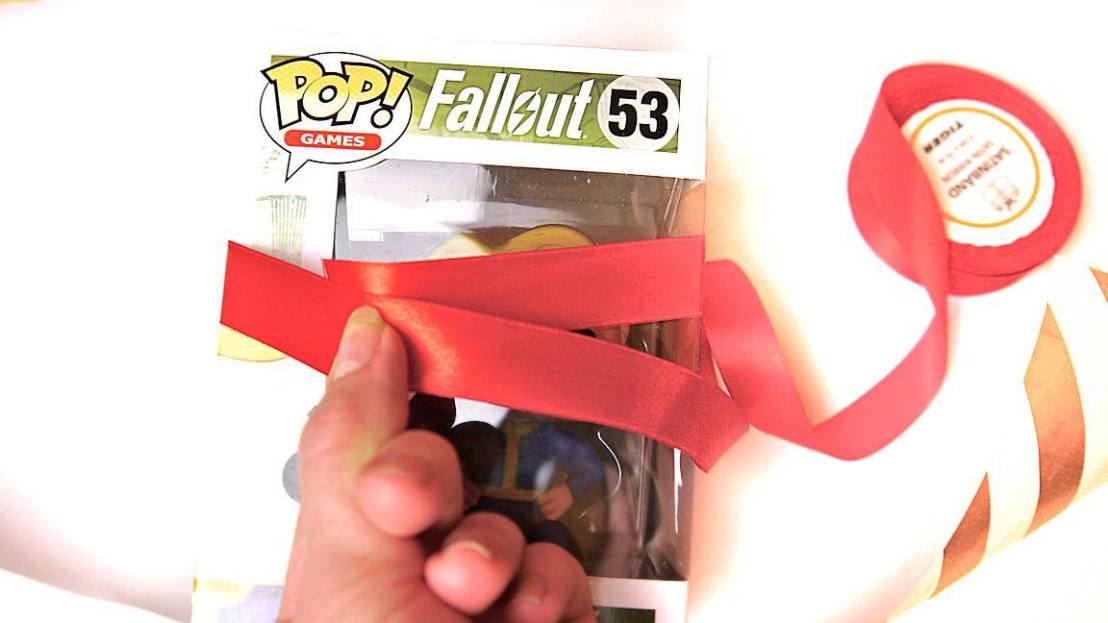
Once you’ve marked out the necessary width of the paper, it’s time to measure it lengthwise. Once folded, you want your paper to cover 2/3 of each end (top, and base/bottom), as shown below!
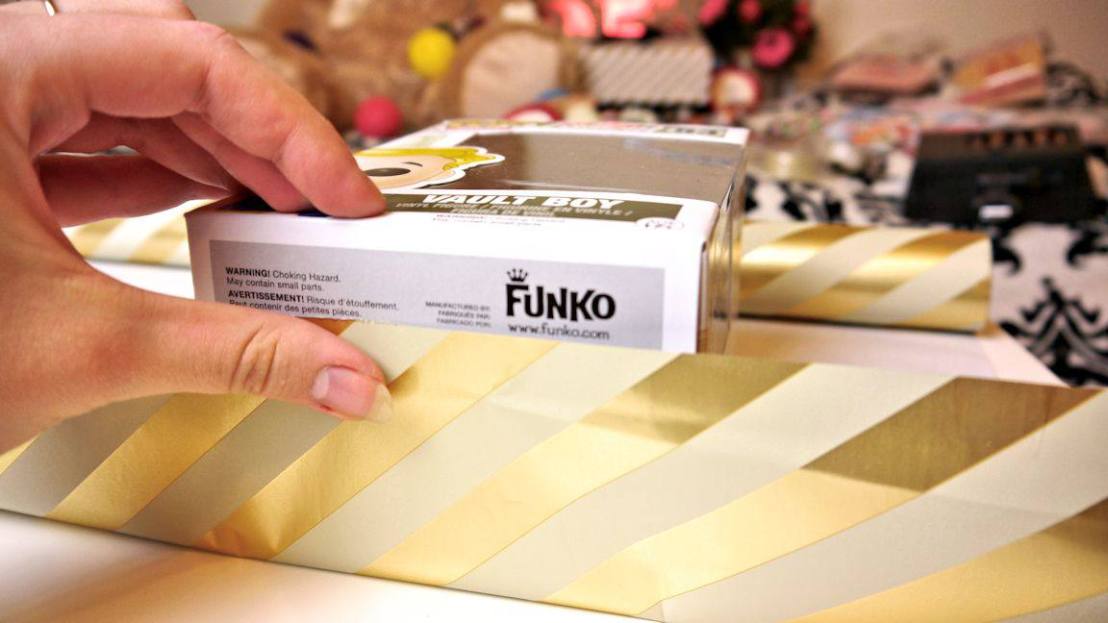
Step 2: Wrapping
The nicest way to wrap a present is by putting it face down in the middle of the wrapping paper. Then, align one of the paper ends to the edge of the box – this will make the wrapping as seamless as possible.
Once you have that edge aligned, let it fall back and line the inside edge (i.e. the white side) with double-sided tape (it doesn’t have to span across the whole length – just make sure there’s tape in the middle, near the top, and near the bottom!)
When you’re ready, wrap both sides of the paper around your present and stick them together, making sure that the side aligned with the edge of the present is on top of the other side (so the side shown in the photo above would go on top of the other one).
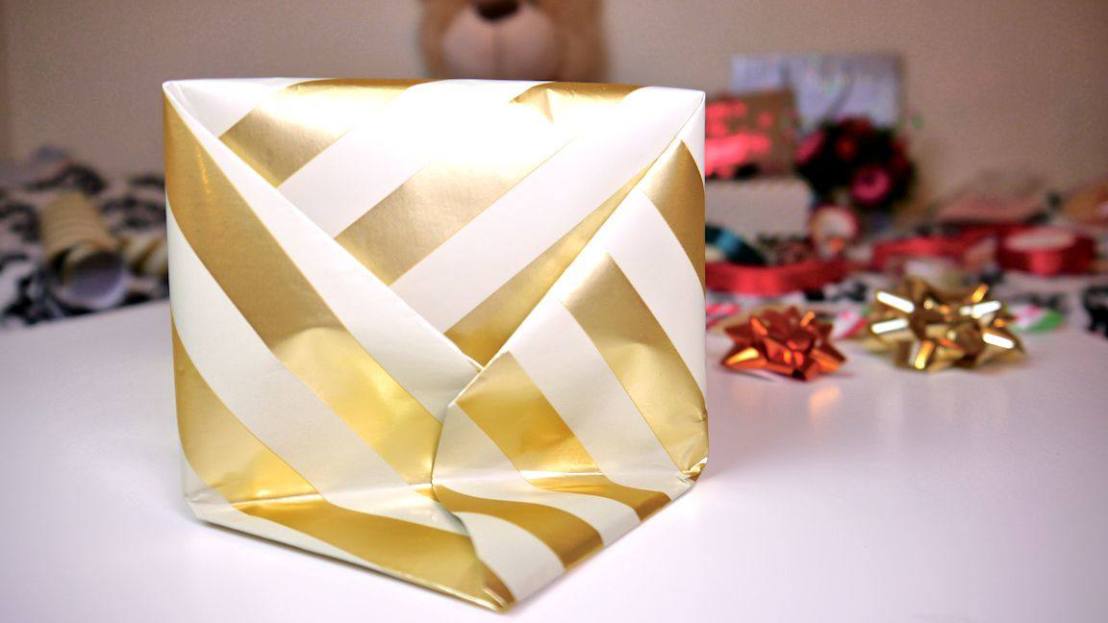
Once completed, move on to cover up the top and the base.
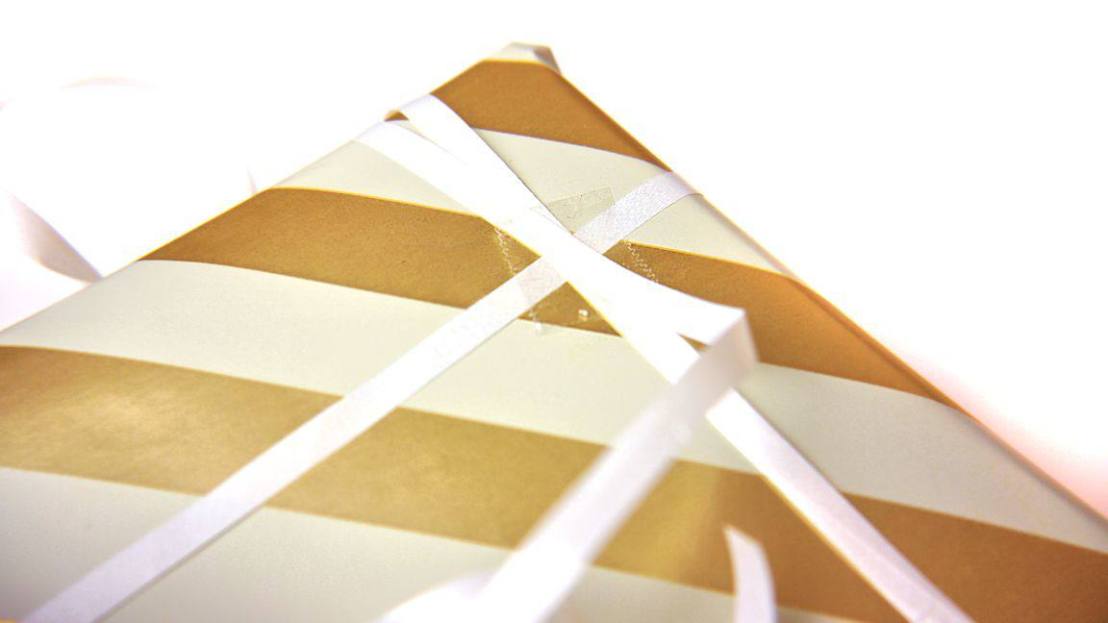
For best results you will want to fold the bottom first (so if you haven’t flipped the box since finishing the last bit, it will be the top part first!) It will look something like this…

Then, go ahead and fold in the sides. You can choose to pop a little sellotape on to secure it in place, but it’s not necessary.
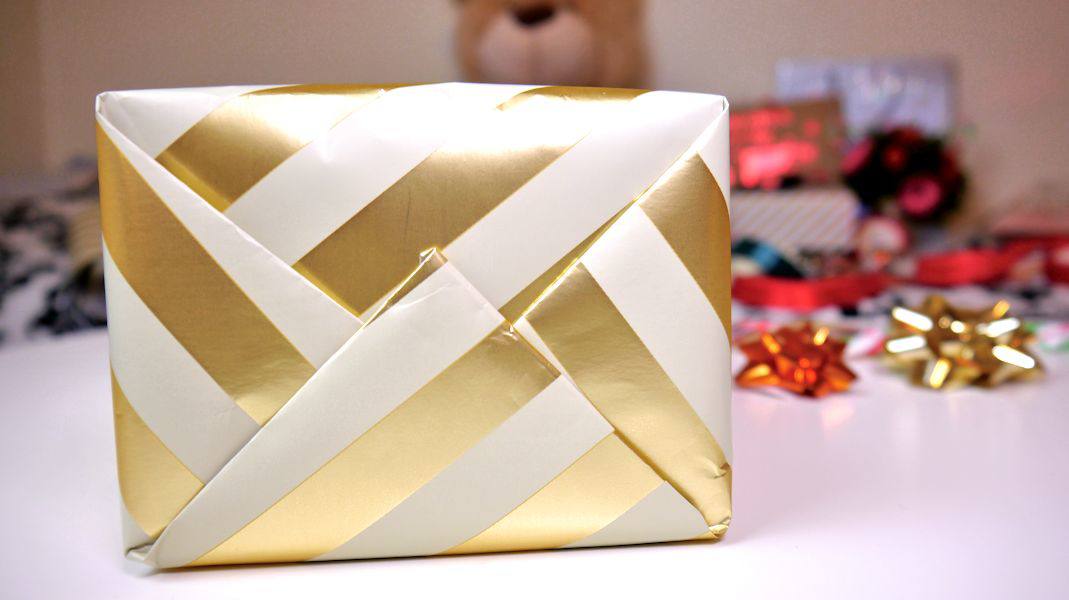
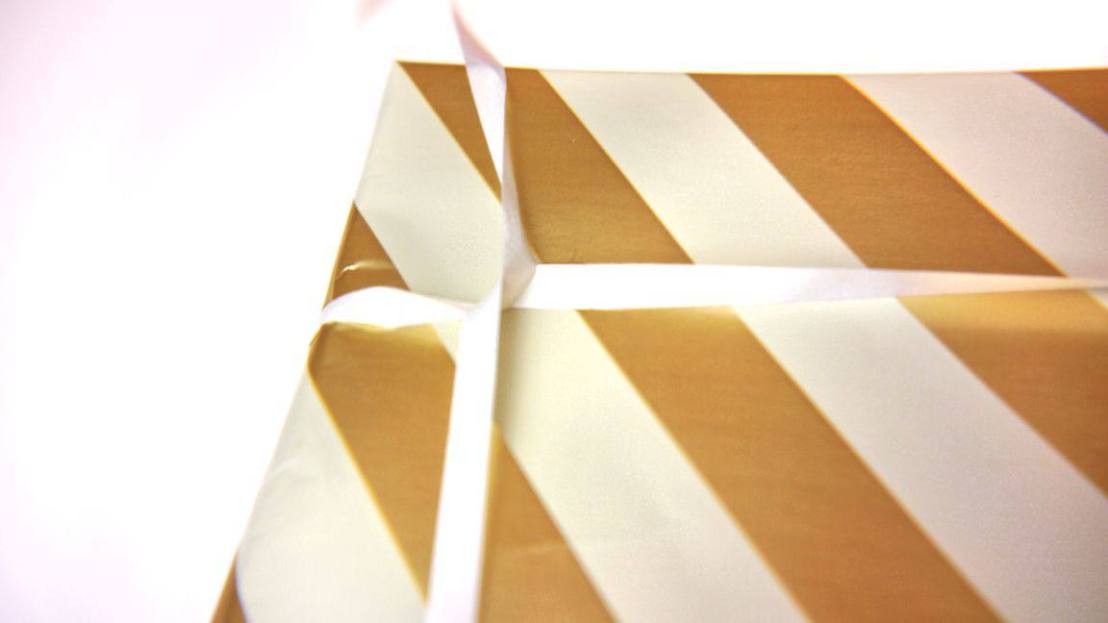
Finally pop the top part down (bottom in this case cause the present is still upside down), and secure it with two pieces of double-sided tape on each side of the triangle. Repeat on the other side. Once finished, it should look tidy and secure.
Step 3: Ribbon
Whether you’re using a thin plastic or a luxurious fabric ribbon, the process will be very much the same. Begin by placing your ribbon on the top (face side) of your present, and wrap around it to the back.
Once there, twist them to form a cross and bring the ribbon back to the front across the other sides of the present. Once again, use a piece of sellotape (single-sided in this case!) if you want to keep the twisted part from moving too much.

When you’ve brought the ribbon back to its starting point, you have two options: sellotape them in place and pop a stick-on ribbon on top, or simply tie a bow with the ribbon itself.
Step 4: Decorate
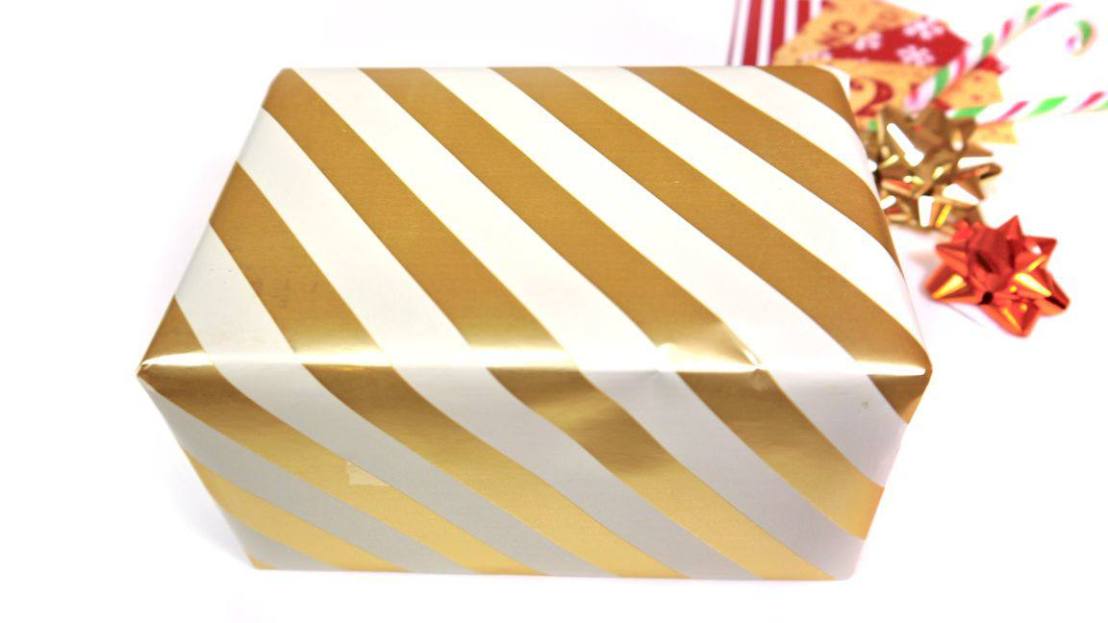
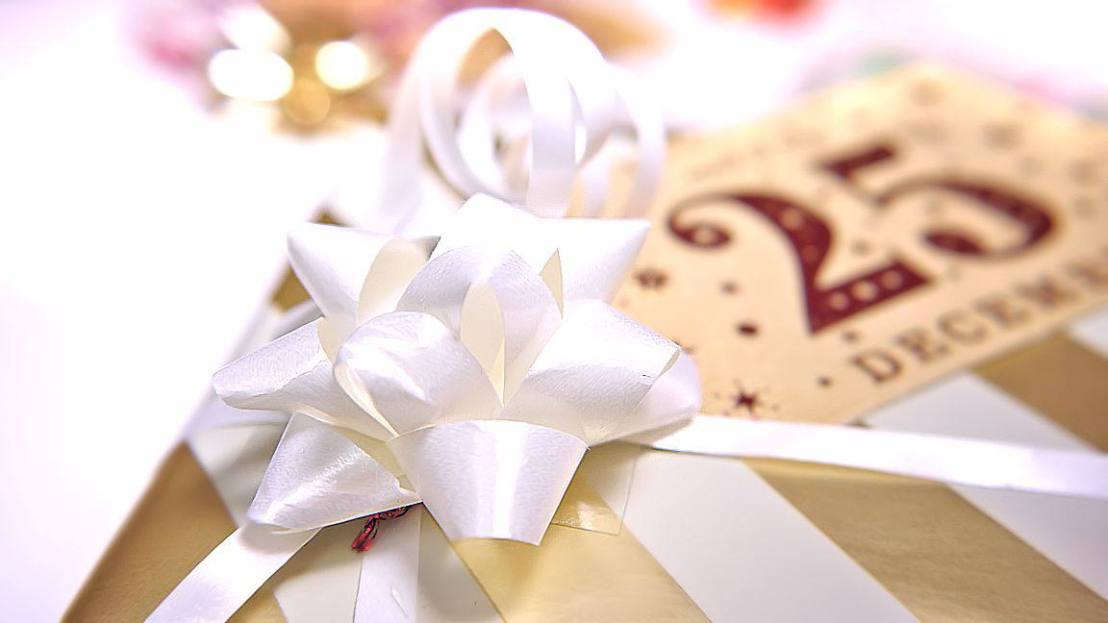
I chose to decorate this box with a stick-on bow that matched the ribbon, and added a little Christmas name tag. And that’s my final present look!
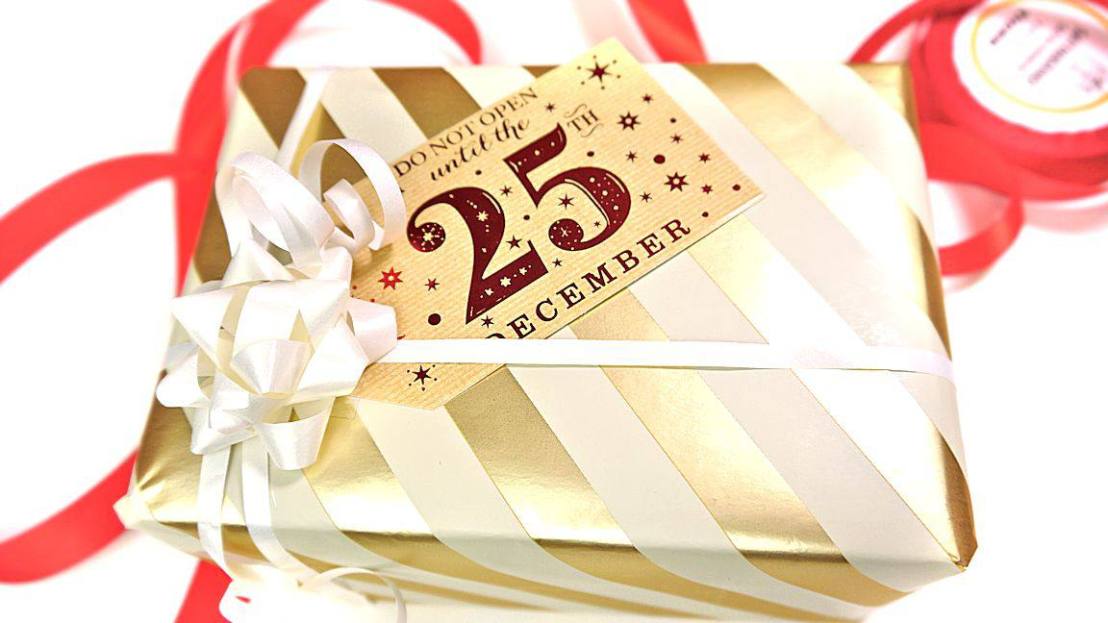
But the beauty of Christmas present wrapping is the ability to play around with different colour and textures, and add different and interesting touches. Why not stick a few feathers next to/behind the ribbon? Add a couple of candy canes? Or even use a Christmas bauble as a decoration? A present AND a tree decoration in one? Yes, please.
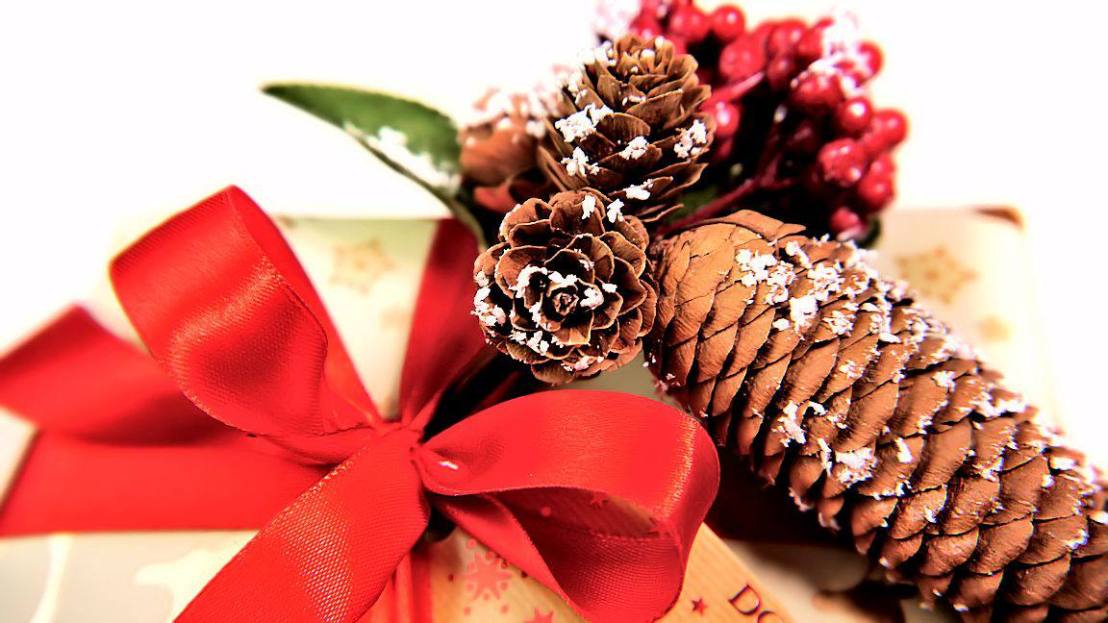
I decorated one of my presents with a (fake) branch of pine cones and cranberries, and it looked great! So play around with it and have fun!